(1) TEST

- Player에 부착된 Player Event Controller 스크립트
using System;
using System.Collections;
using System.Collections.Generic;
using UnityEngine;
using UnityEngine.InputSystem;
public class PlayerEventController : MonoBehaviour
{
private Vector3 moveDir = Vector3.zero;
//public
private Animator anim;
// Start is called before the first frame update
void Start()
{
this.anim=this.GetComponent<Animator>();
}
//// Update is called once per frame
void Update()
{
if (moveDir == Vector3.zero)
{
this.anim.SetInteger("State", 0);
}
else
{
Quaternion rot = Quaternion.LookRotation(moveDir);
this.transform.rotation = Quaternion.Slerp(this.transform.rotation, rot, 10f*Time.deltaTime);
this.transform.Translate(moveDir * 4f * Time.deltaTime, Space.World);
this.anim.SetInteger("State", 1);
}
}
//send 구현
#region SEND_MESSAGE
public void OnMove(InputValue value)
{
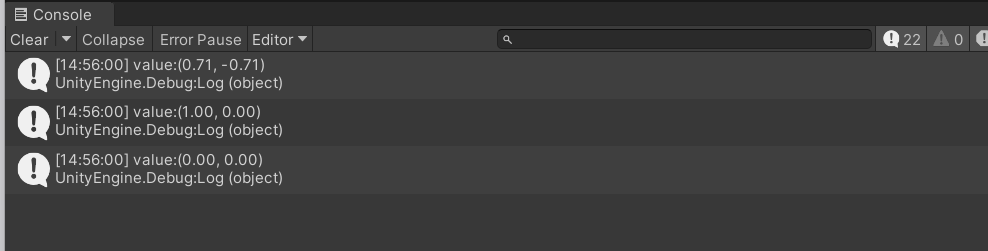
Debug.Log($"value:{value.Get<Vector2>()}");
Vector2 dir = value.Get<Vector2>();
moveDir = new Vector3(dir.x, 0, dir.y);
}
#endregion
#region INVOKE_UNITY_EVENTS
public void OnMove(InputAction.CallbackContext ctx)
{
Vector2 dir = ctx.ReadValue<Vector2>();
Debug.Log($"dir:{dir}");
moveDir = new Vector3(dir.x, 0, dir.y);
}
#endregion
}
(2) 실제 코드에 적용해보기
-각 스테이지 별로 OnMove 함수 추가
-각 stage 오브젝트에 player input 컴포넌트 추가

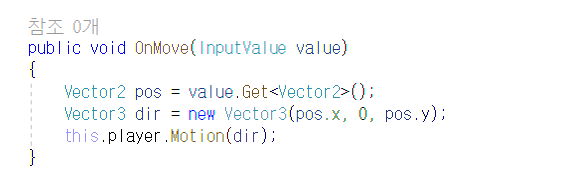
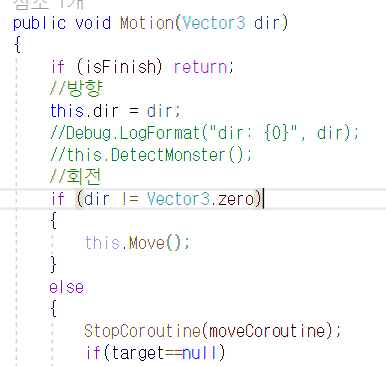
-player 스크립트 수정
결과
'K-digital traning > 유니티 심화' 카테고리의 다른 글
| [주말과제]UGUI+데이터연동(2) (0) | 2023.09.11 |
|---|---|
| [주말과제]UGUI+데이터 연동(1) (0) | 2023.09.10 |
| [주말과제] HeroShooter stage1까지 (0) | 2023.08.28 |
| OverlapSphere 연습 (0) | 2023.08.21 |
| 캐릭터 이동 후 normal(법선벡터)로 회전 (0) | 2023.08.21 |